
Planning a bathroom remodel and wondering how to remove a shower enclosure? In this comprehensive DIY guide, we’ll walk you through the process step by step, including essential tools, safety tips, and pro advice to avoid common pitfalls. Perfect for homeowners tackling shower removal for the first time!
Note: Always wear safety gear like gloves, goggles, hearing protection, and a mask.
Tools and Materials You’ll Need for Shower Removal
- Screwdriver or drill
- Utility knife or razor blade
- Nail puller or multi-tool
- Reciprocating saw
- Pry bar
- Drain cap or plug
- Safety equipment: Gloves, goggles, dust mask
ToolRev earns commissions on purchases made through our links.
Step 1: Remove the Shower Door

Start by unscrewing any hardware holding the door in place. Use a utility knife to cut through caulking or silicone seals. Gently lift and remove the door to avoid damaging surrounding tiles or walls. If it’s a sliding door, lift it off the tracks.
Step 2: Remove Fixtures and Hardware
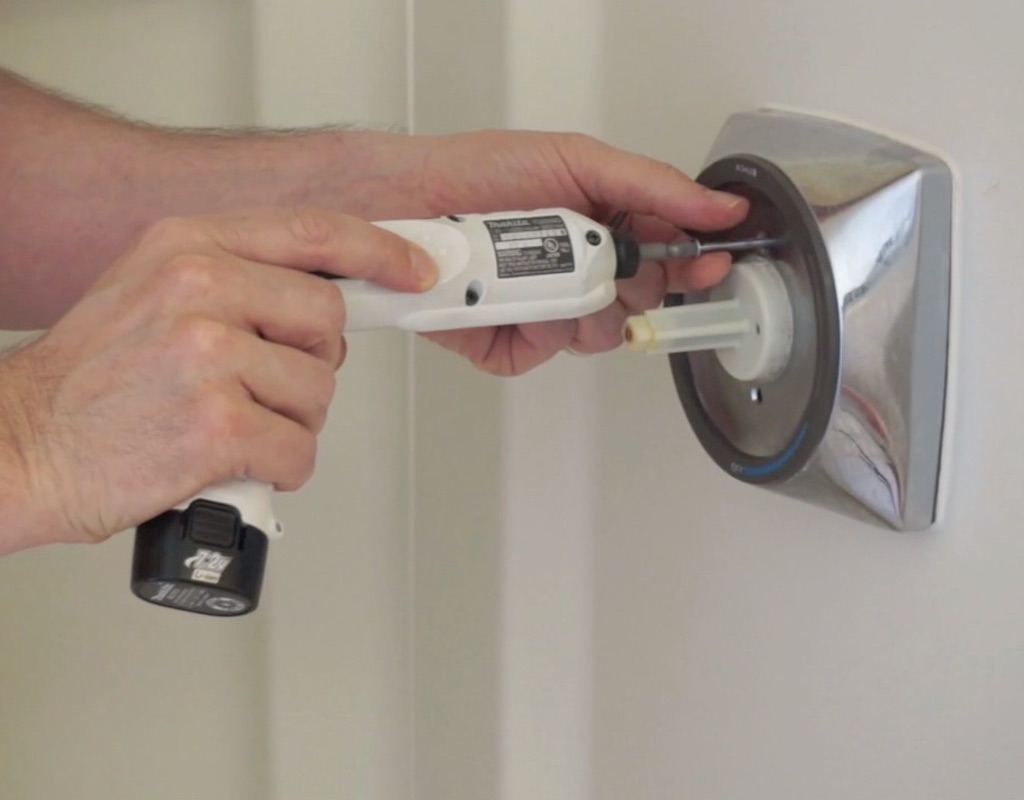
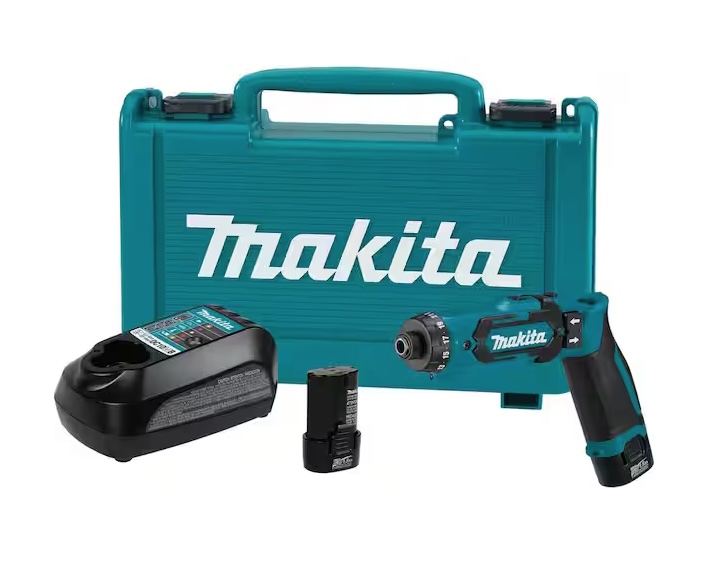
Detach showerheads, handles, and any other fixtures. No need to shut off the water supply here, as we’re not touching the valves yet. Use a drill for efficiency—recommend the Makita Cordless Drill for tight spaces.
Makita 7.2V Lithium-Ion 1/4 in. Cordless Hex Driver-Drill Kit with Auto-Stop Clutch (DF012DSE)
Step 3: Expose the Shower Flange
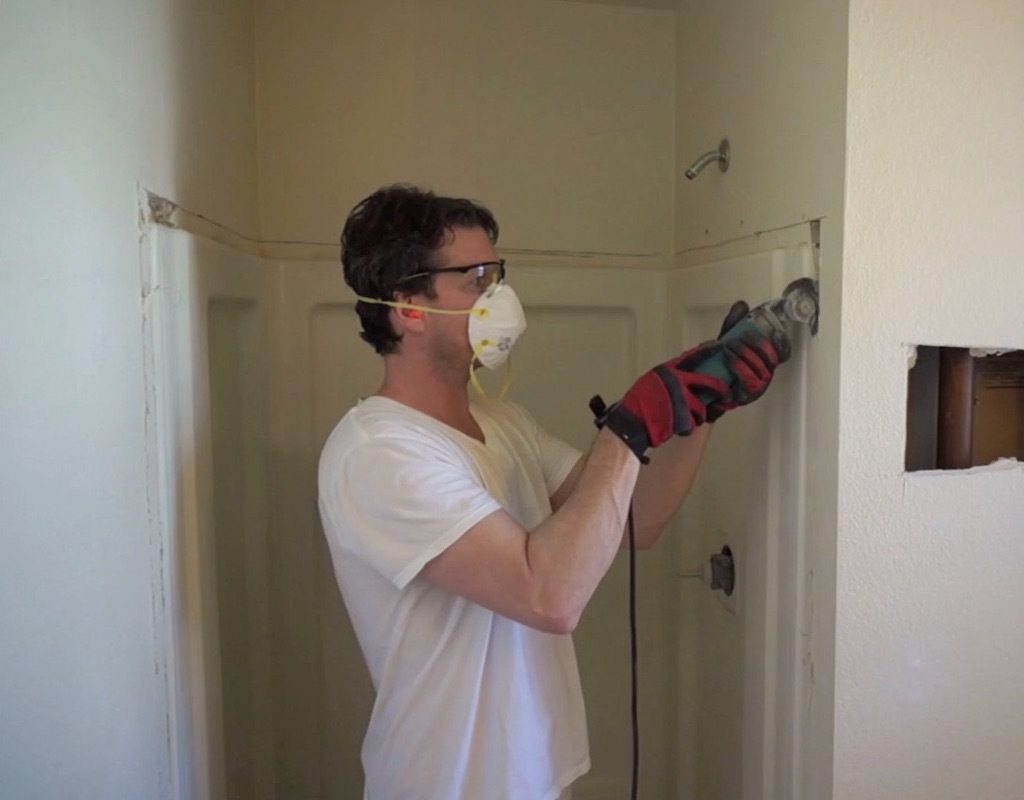
Cut away about 1-1/2 inches of drywall around the enclosure to reveal the flange nailed to the studs. Pull out nails or cut them using a multi-tool.
Makita 12V max CXT Lithium-Ion Cordless Multi-Tool Kit

Step 4: Remove the Shower Walls
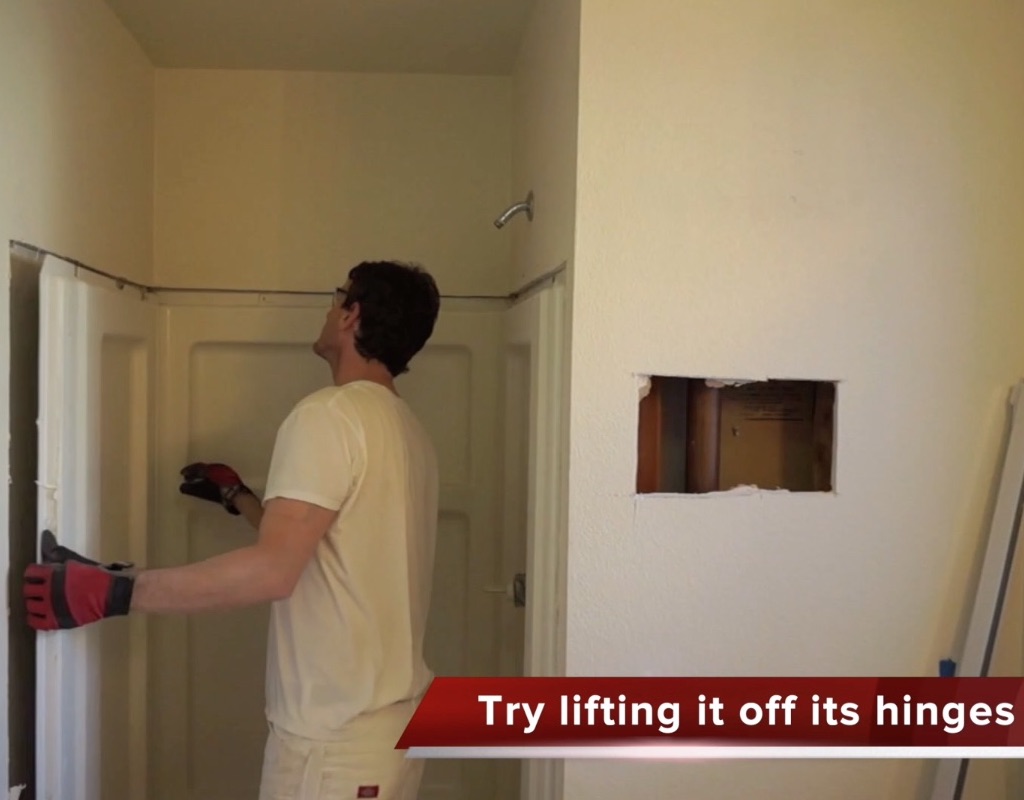
For fiberglass enclosures, try lifting the walls off their base to preserve them. Pry gently from the bottom or remove more drywall if needed. If salvaging isn’t a priority, cut them out carefully to minimize mess.
Step 5: Remove the Drain
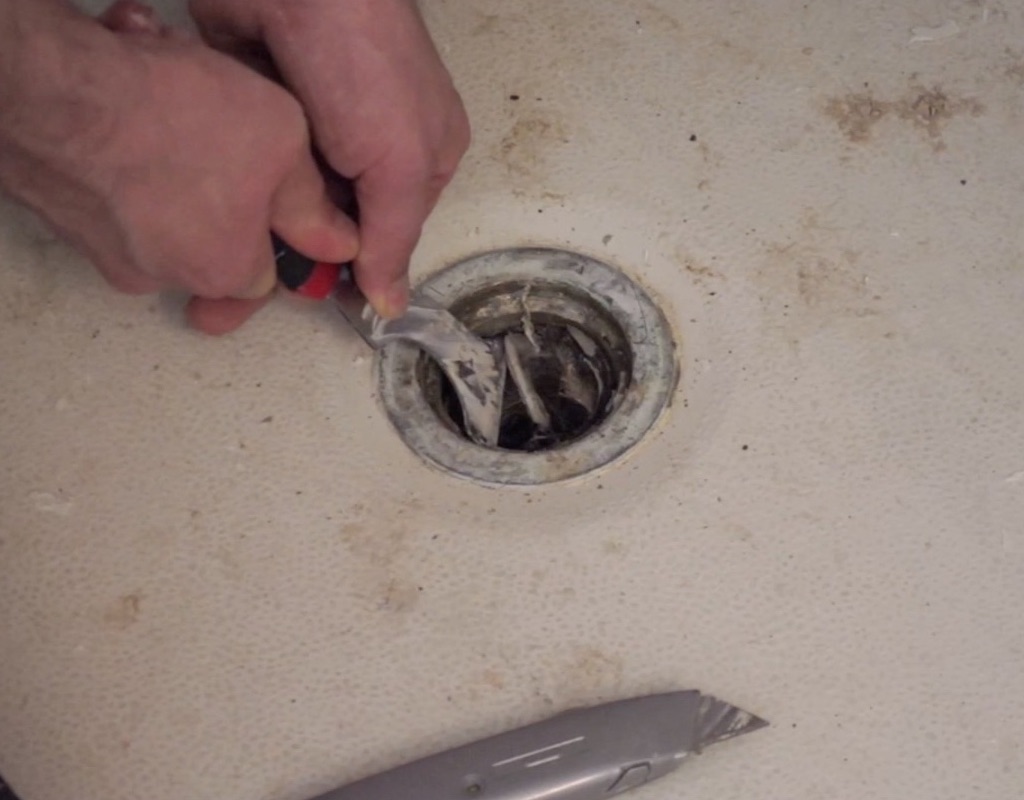
Pop off the grate, unscrew the flange, and scrape away old caulking. Be cautious around plumbing to avoid leaks.
Step 6: Remove the Shower Base or Pan
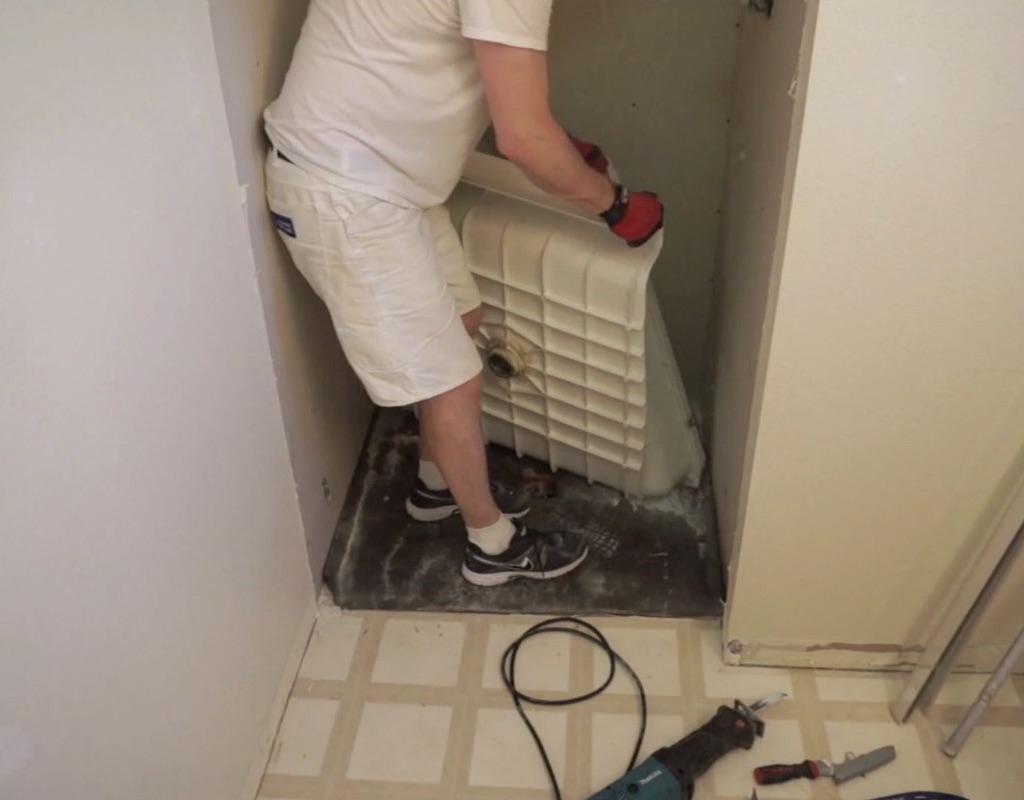
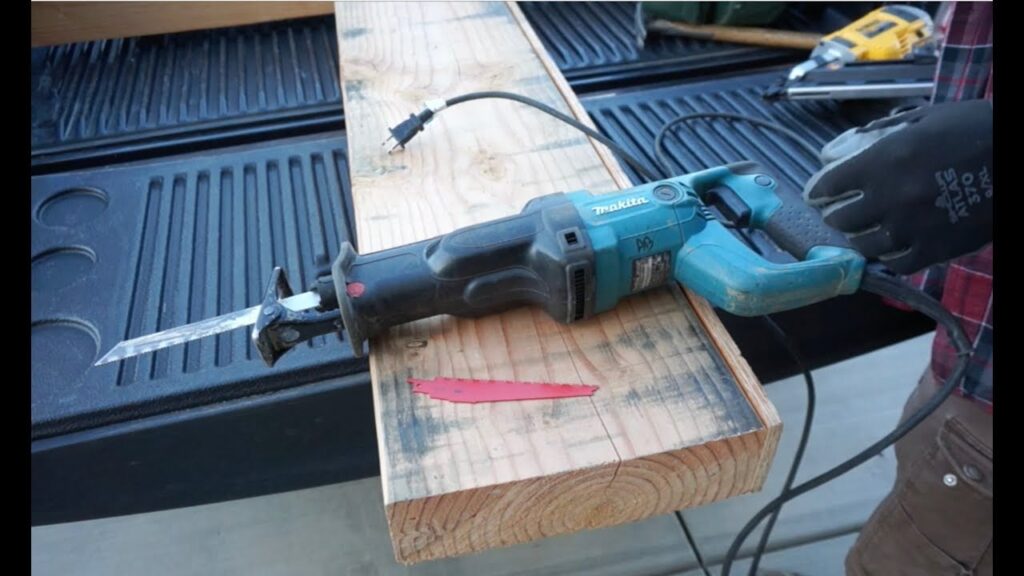
If the pan is stuck under drywall, notch the drywall for removal. Alternatively, use a reciprocating saw with a fine-tooth blade to cut it out while protecting the floor. The Makita Recipro Saw is ideal for this.
Makita JR3051T Recipro Saw – 12 AMP
Step 7: Cap the Sewer Pipe
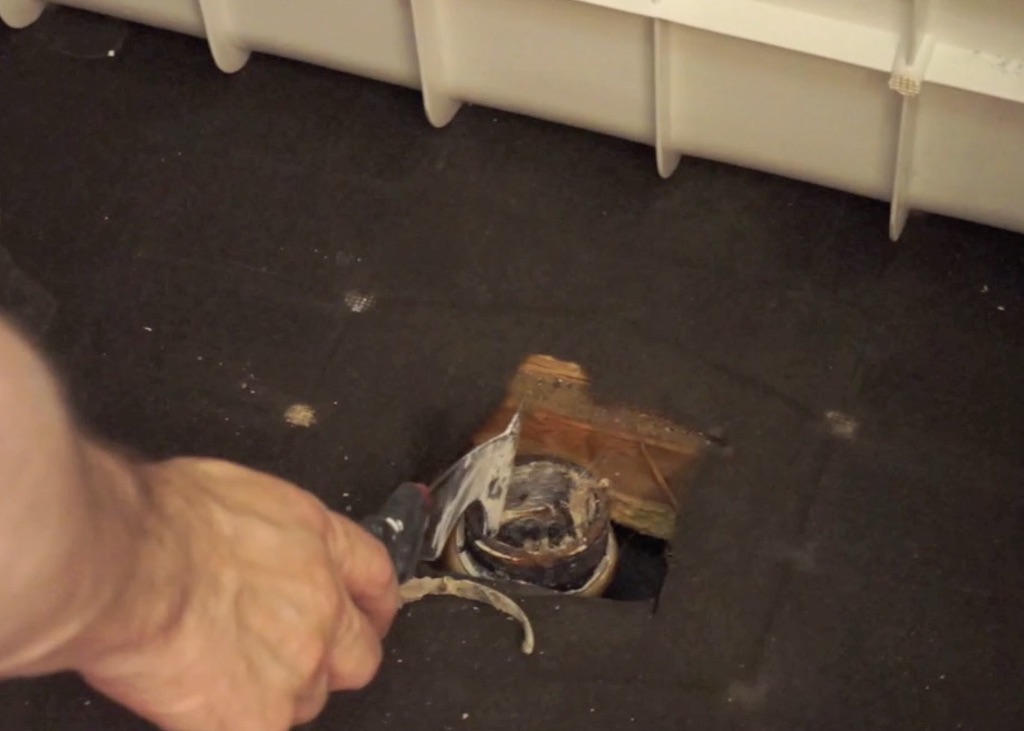
Install a temporary cap on the drain pipe to block sewer gases. This is crucial for safety until your new shower is in place.
Congratulations! You’ve successfully removed your old shower enclosure. Now you’re ready for installation or further remodeling.
Watch This Video Tutorial on Shower Removal
Frequently Asked Questions (FAQs) About Removing a Shower
How long does it take to remove a shower enclosure?
It typically takes 2-4 hours for a DIYer, depending on the enclosure type and any complications.
Do I need to shut off the water supply?
No because we are not removing the mixing valve.
Can I reuse the old shower parts?
Yes, if removed carefully, especially fiberglass units.
What if I encounter mold during removal?
Stop and address it with proper remediation to avoid health risks.
Ready to tackle your DIY shower removal? Share your experiences in the comments or check out our other bathroom remodel guides!


